This post is all about travel photography tips and ideas. Travel and photography are kind of like yin and yang! You can’t really have one without the other. However, there is a big difference between taking great photos and just average photos.
Learn our top photography tips and ideas so you can take better images on your travels.
Great travel photography is not just about getting likes on Instagram (it is a little bit about that!). It allows you to capture special moments, it will also inspire countless people to follow in your footsteps and travel to places that really touched you.
There is something really special about being able to convey the feeling of being somewhere in person through photography. It is such a gift that we can share travel stories and hold onto precious memories through imagery.
Travellers can really thank the popularity of Instagram as it has resulted in a plethora of amazing photography tools to help even the most amateur photographer take great pictures.
These tips are easy and accessible for everyone and don’t require any fancy equipment. All you really need is a smartphone! This post is for your whether you just want to have a better collection of travel memories or whether you are an aspiring travel blogger and Instagrammer.

1. Make sure you have a camera!
The first and most obvious travel photography tip is to get a camera! And always bring it everywhere with you.
If you are just starting out all you need is the camera on your smartphone.
Smartphone cameras are getting better and more professional every year so just start with what you’ve got!
If you are interested in taking more professional photos or want to take awesome drone shots then look into entry-level DSLR cameras and drones on the market.
You can’t go wrong with the latest iPhone and we love the Canon 700D with 18-135mm lens!
2. Research and scout the best photo spots before and after you arrive
Our next travel photography tip is to do your research. To take amazing pictures, you’ve got to know where the best spots to take them are! Before you head somewhere new do some research online into the best spot to capture images.
A great place to find epic photography spot is on Instagram by looking up the top posts in a hashtag or by browsing through Pinterest to find inspiring images and travel blogs.
Doing research before your trip will give you a good idea of where to go once you arrive but scouting locations once you get there is even more important.
Make the effort to go for a photoshoot spot wander and get lost on purpose. By doing this you will come across new locations and unknown spots that perhaps not many people have seen before. This is truly how you capture and share the magic of travelling.

3. Don’t be afraid to be that traveller taking lots of photos…
When you want to take amazing travel pictures you are going to have to get over the fear of people looking at you.
At first, you might feel embarrassed and shy but once you push yourself outside of your comfort zone and continue to unapologetically take photos everywhere you go it will become second nature.
You won’t mind so much when people are watching you and your friend have a photoshoot on the beach or it won’t bother you asking a stranger to take a picture for you.
One of the biggest barriers to taking amazing travel photos is being too embarrassed and not actually taking any photos at all. Just be yourself, do your thing and get the shot. You won’t regret it!
4. Use the ‘Rule of Thirds’ in your travel photography!
The ‘rule of thirds’ is a fundamental rule of photography and is an amazing travel photography tip.
The rule of thirds is all about the composition of where things are in your image. Imagine that your image is divided up into 9 squares, with 3 vertical lines and 3 horizontal lines. This creates a grid where the image can be divided up into thirds horizontally and vertically. The idea is to have the subjects in your image line up with these lines in 3rds.
It is simple to apply to landscape photography where you would want 2/3rd of the image to be the sky and 1/3 to be the ground. When placing people in an image. Place the person inside one of the vertical thirds.
Any focal point of your image that you want to be focused on should be placed along these lines.
You can also use Lightroom when editing photos to adhere to the rule of thirds. All you need to do is change the aspect ratio when cropping your image. Gridlines will then be displayed on your image, allowing you to crop, straighten and zoom in on your image to fit along the grid lines.
The more photography you do, the more you will naturally use this rule as it is so effective at creating appealing images.

5. Experiment with composition
Experimenting with photo composition is an amazing way to hone your travel photography skills. You will discover what works and what doesn’t. You may even find interesting and unique ways to capture a place that no one else has done before.
Switching up the composition allows you to take a better photo and take photos that are interesting and different. Try taking images from different angles such as from the ground or from above.
Take shots from various distances from the focal point and try some zoomed in or zoomed out. Experiment with taking landscape and portrait shots. You can also experiment with various subjects in your images. Try out having different mixtures of people or no people, people posing or people walking by.
Experiment with different foreground, mid-ground and background elements. If you are taking a picture of a mountain range find an animal, river, flower or person to have in the foreground. This will help convey the scale and bring a unique element to the image.
Don’t be satisfied after just one attempt at capturing a moment or place!

6. Use leading lines
Our next travel photography tip is to use leading lines. Leading lines are designed to draw the viewers eye to the subject of the photo or the main focal point. They can be a pathway, a road, train tracks, a river or stream or buildings. Pathways and roads can also be used to draw your eyes to the horizon.
Leading lines can also help you decide where to position your subject. It can look amazing to have a subject, such as a person, placed at the end of a leading line. This will bring the viewers eyes right to the subject.

7. Focus on framing your travel photos
Framing images is such an amazing travel photography tip. It can help even the most amateur photographers take eye-catching and professional-looking images. Plus it is really easy to do!
Archways, doorways, caves, flowers, trees, buildings, tunnels and so much more can be used as frames. Basically, anything you can look through to find the subject of the image. This is one of the best ways to show off amazing architecture!
Framing images creates depth and also helps to tell a story of what it is really like to be in that location. Experiment with different focal points when framing. You may focus on the frame and blur the background, or keep the focus on the focal point and blur the frame. You can also have the frame and subject equally in view.

8. Use a person to create a story and show depth
Placing a person in your image is an amazing way to show depth, convey the scale and tell a story. Landscape photography without a person in it is beautiful, but there is also something interesting and special by including people in images like this. Plus they are great for the personal memory bank!
You can take photos of yourself with a tripod or have someone take them for you or you can take photos of random people from behind. Landscape images always look amazing when the subjects are looking out at the view in awe as opposed to posing or looking directly into the lens.
Taking images with locals in the frame can help to convey a vibe and a story of a place (just ask permission first!)

9. Contrast your outfit with the background
This next travel photography tip is for those who are usually the main subject of their travel photos! With a bit of pre-planning, you can make sure your outfit contrasts the colours of the background of where you are shooting.
This allows you to stand out in the image and can create a really striking photo.
If the background is green opt for white, red, pink or yellow clothing. If you are in the desert find something that is blue or green to wear. This works really well for water shots too! A red or orange bathing suit looks amazing against turquoise water.
Don’t be embarrassed by being selective about the clothes you wear for your travel photos. You won’t regret it!

10. Shoot at sunrise or sunset
Sunrise and sunset are the best times to take travel photos. This is simply because the light is just better for taking photos when it is lower in the sky. During the middle of the day, the sun can be hard, overexpose your image and also create some not so nice shadows.
If you are in a popular place and you don’t want crowds in your images the best thing to do is get up for sunrise. You will have the whole place to yourself, no one will be staring and be able to enjoy the beautiful light.
This isn’t to say you should get up at sunrise every day to get amazing images! Even just once or twice during your trip will be enough to get a collection of amazing images.
You also need to be mindful about how the time of day affects the shadows of where you are. Oceans and mountains look a lot different when the sun isn’t beaming down on them!

11. Download Lightroom for mobile
All photographers edit their images to get them looking as best as they can. So don’t be afraid to edit yours!
By editing your images you can get the angle, crop, light, exposure, shadows, contrast and detail right. This can make up for poor lighting or any mistakes you may have made.
The Lightroom mobile app by Adobe is one of the best photo editing apps out there. And it is totally free!
You don’t need any special photoshop or editing skills to use Lightroom’s mobile app.
It has so many editing tools and features, you will be able to edit all of your images to perfection.
12. Invest in some presets
Presets are custom filters that are applied in Lightroom. Basically, all of the Lightroom settings to have an image look a particular way is saved and then applied to other images, just like an Instagram filter.
You can invest the time into learning how to create your own presets and edit your photos how you like. This is a great way to learn the photo editing ropes.
Otherwise, if you are just starting out, it is worth investing in some Lightroom presets. There are a bunch of free presets provided by Lightroom but there are also many creators who custom make and sell their own.
Presets can really take your travel photos to a new level and make your images look really amazing. We highly recommend investing in some, even if it is just to figure out how they work so you can then make your own.
This Preset Bundle is a great way to get your hands on hundreds of presets from a number of well-known travel photographers.

13. Crop & angle your images to perfection
Another post-processing editing tip is to straighten and crop your images.
It is really difficult to take perfectly straight images. Most likely the lines of the horizon or buildings will be a bit off, so straighten them out. It makes a massive difference to the look of the image. It is really easy to make this edit in Lightroom or even directly from your camera roll.
Cropping your images is also a great way to remove anything from the image that you don’t really want in there, or to adjust the focal point and framing. It can take an image from average to Instagram worthy! Again this can be done in Lightroom or from your camera roll on your phone.

14. Back up your photos!
The last thing you want is to lose all your images. It will be very devastating, especially if you have been making the effort to capture a lot.
Make sure you have automatic cloud backup storage on your phone and your laptop. It is also a good idea to have an external hard drive to back your photos up in incase the place you are travelling to has poor internet access.
15. Bring loads of storage space for your images
Our last travel photography tip is to have plenty of storage space. This mainly applies if you are shooting with a DSLR camera and in RAW (which is recommended). RAW images are the best for editing but they do take up a lot of space. However, this does also apply to camera phone users. Make sure your phone has plenty of free gigabytes before you set off on your adventure.
The last thing you want is to run out of storage in the middle of a shoot so just invest in more than you need. Having to go through images and delete them is such a headache and can be really sad!
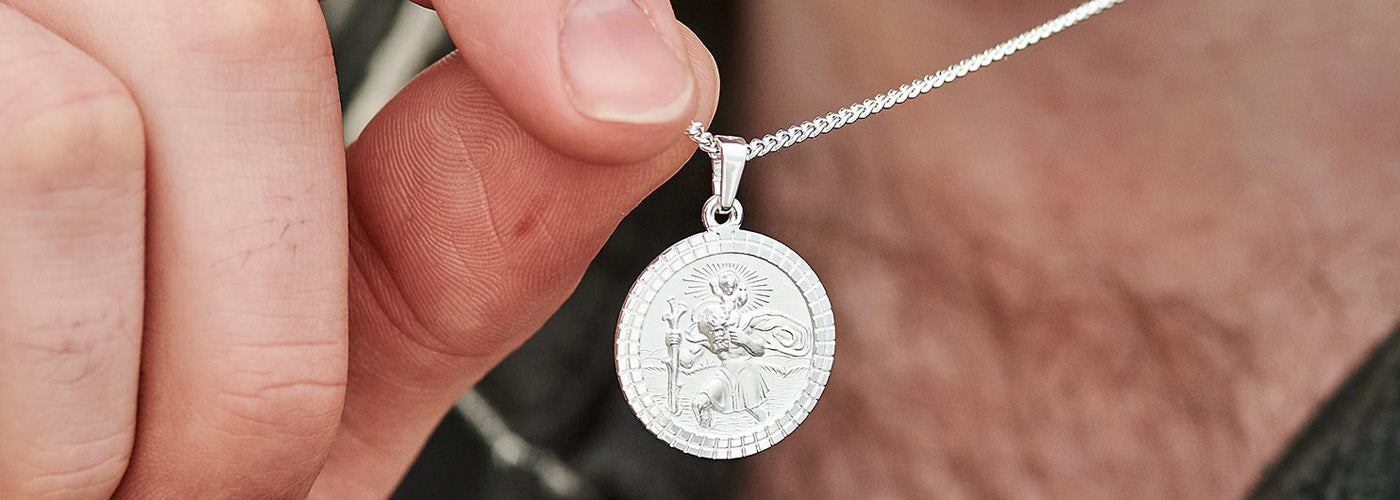
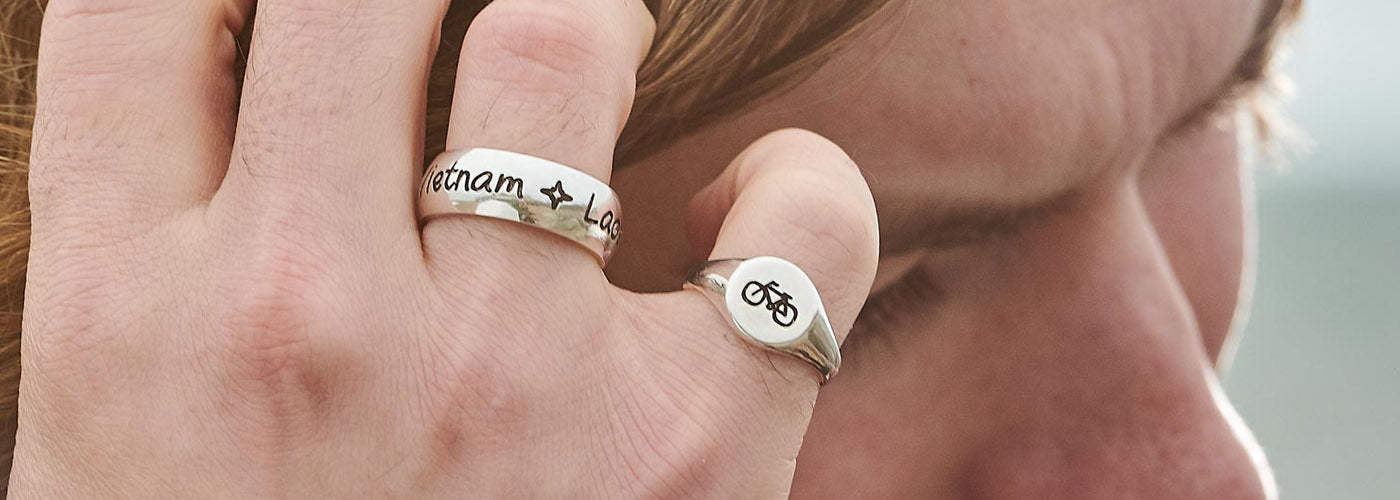
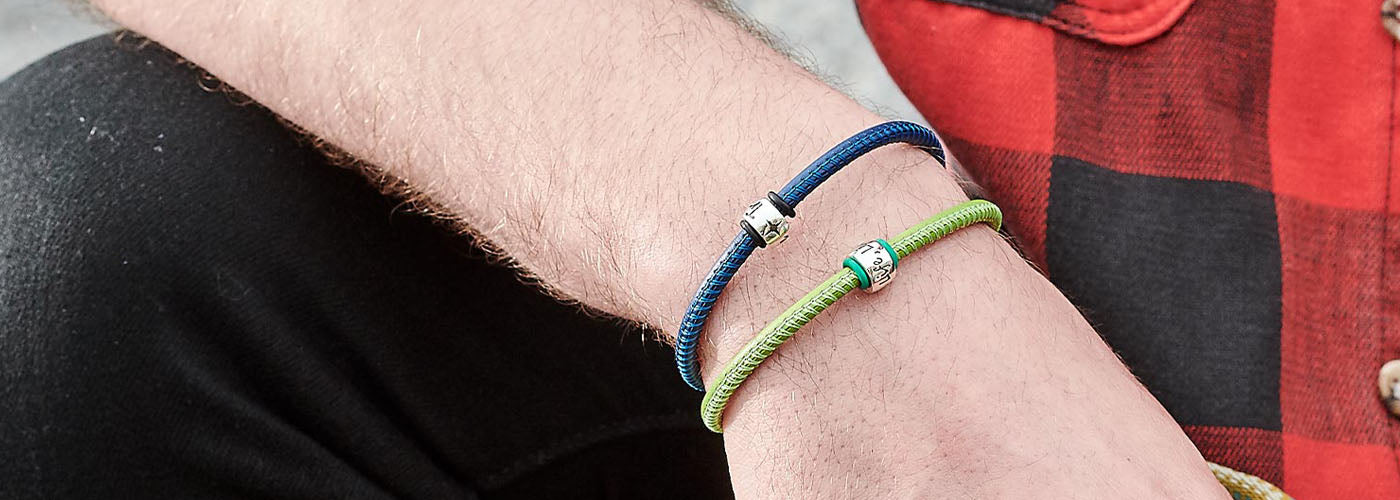
Off the Map
Off the Map Jewellery makes travel-inspired travel charms including St Christopher pendants, coordinate rings, compass pendants, keyrings and so much more. All our pieces are solid sterling silver and handmade in Brighton.
We deliver worldwide for free. Check out our full range here!